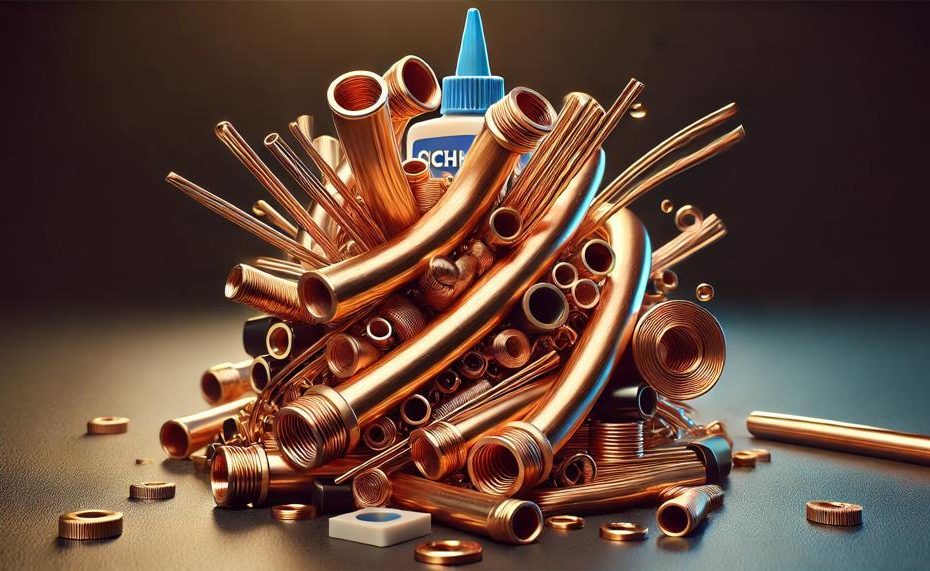
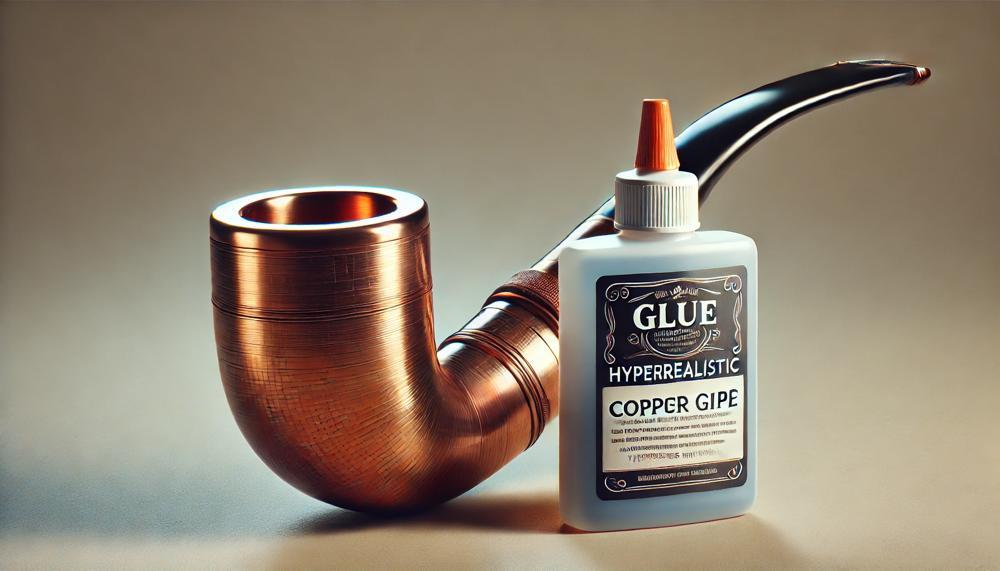
Yes, copper pipes can indeed be glued together, offering an alternative to traditional soldering methods. This might come as a surprise to many, but advancements in adhesive technology have made it possible to create strong, durable bonds between copper surfaces.
Key Takeaways:
- Adhesive Options: Various adhesives, like acrylics and epoxy resins, are effective for bonding copper.
- Structural Strength: When done correctly, glued joints can sometimes offer superior strength compared to soldering.
- Cold Soldering: This method is often referred to as cold soldering, ideal for situations where heat application is challenging.
- Application Process: Epoxy adhesives need to be mixed with a hardener and applied before assembly, ensuring a tight bond before the epoxy hardens.
This introduction aims to shed light on a lesser-known yet practical method for connecting copper pipes, highlighting the importance of using the right adhesives and following precise procedures to achieve optimal results.
Whether you’re a DIY enthusiast or a professional, understanding these techniques can save time and offer reliable alternatives in your plumbing projects.
Table of Contents
Choosing the Right Adhesive
When selecting an adhesive for bonding copper pipes, several critical factors must be taken into account to ensure a robust and durable bond. Here are the key considerations:
| Factor | Description | Considerations |
| Adhesive Type | Choose adhesives specifically formulated for copper, such as epoxy, cyanoacrylate, acrylic, or polyurethane. |
|
| Temperature Resistance | The adhesive must withstand the operating temperatures of the copper pipes, especially in plumbing and HVAC systems. |
|
| Flexibility | Adhesive flexibility is crucial to accommodate the thermal expansion and contraction of copper pipes. |
|
| Curing Time | The time required for the adhesive to fully cure and achieve maximum strength. |
|
| Environmental Factors | Consider the environment in which the adhesive will be used, including exposure to moisture, chemicals, and UV light. |
|
| Application Method | The ease of applying the adhesive and the tools required for the job. |
|
Selecting the appropriate adhesive involves understanding the specific requirements of your project and the characteristics of the adhesives available.
Preparing the Copper Surface
Preparing the copper surface is paramount before gluing copper pipes together for several reasons:
Ensures a Strong Bond
Cleaning the copper surface removes dirt, grease, and oxidation that could compromise the adhesive’s effectiveness. This ensures a robust and durable bond.
Increases Surface Area
Roughening the copper surface creates more area for the adhesive to grip. This mechanical interlocking enhances the strength of the bond.
Promotes Adhesive Compatibility
Proper preparation, including the application of a primer, is necessary when bonding copper with other materials like plastic or wood. This ensures the adhesive adheres properly to both surfaces.
Prevents Bond Failure
Skipping the preparation steps can lead to weak bonds that may break under stress or environmental conditions. Consistent preparation prevents such failures, guaranteeing longevity.
Enhances Safety and Work Quality
Following the preparation guidelines, such as wearing protective gear and working in well-ventilated areas, not only improves the quality of the bond but also ensures safety during the process.
Facilitates Effective Clamping and Curing
Proper surface preparation aids in even distribution of clamping pressure, which is crucial for a uniform bond. Additionally, it allows the adhesive to cure properly, solidifying the connection between the copper pieces.
Gluing the Copper
To properly glue copper pipes together, follow these steps meticulously:
Clean and Prepare the Pipes
:
- Use a fine-grit sandpaper or a wire brush to clean the ends of the pipes. This removes oxidation and any dirt, ensuring a clean surface for the adhesive to bond.
- Wipe the cleaned areas with a cloth soaked in acetone or rubbing alcohol to remove any residual oils or particles.
- Select an adhesive specifically designed for copper and plumbing applications. A popular choice is epoxy adhesive, known for its strong bonding properties and resistance to water and heat.
- Refer to the adhesive manufacturer’s instructions for best results.
Choose the Right Adhesive
:
Apply the Adhesive
:
- Mix the adhesive components if necessary. Some epoxies require mixing two parts together.
- Apply a thin, even layer of adhesive to both cleaned pipe ends. Use a small brush or applicator for precision.
Join the Pipes
:
- Insert the pipe ends into the fitting or join the two pipe ends together, ensuring they are aligned correctly.
- Rotate the pipes slightly to spread the adhesive evenly and eliminate air bubbles, which can weaken the bond.
Secure and Cure
:
- Hold the pipes together firmly or use clamps to maintain pressure while the adhesive sets.
- Allow the adhesive to cure fully as per the manufacturer’s recommendations, typically 24 hours, to achieve maximum strength.
Key Points to Remember:
- Cleanliness is Essential: A thoroughly cleaned surface ensures better adhesion.
- Correct Adhesive: Use adhesives formulated for metal and plumbing applications.
- Even Application: Uniform adhesive layer avoids weak spots.
- Proper Alignment: Misalignment can compromise the integrity of the joint.
- Adequate Curing Time: Rushing the process can lead to weak bonds.
Conclusion
Connecting copper pipes with adhesives offers a modern, efficient alternative to traditional soldering. The advancements in adhesive technology, particularly with epoxy resins and acrylics, have enabled strong, durable bonds without the need for heat. This method, often dubbed “cold soldering,” is especially beneficial in situations where using a torch is impractical.
Selecting the right adhesive is crucial. Epoxy provides exceptional strength and durability, making it ideal for high-stress applications. Cyanoacrylates, or super glues, offer quick bonding for minor repairs, while acrylics and polyurethanes provide flexibility and impact resistance, accommodating thermal expansion and contraction of copper pipes.
Temperature resistance, curing time, and environmental factors also play significant roles in choosing the appropriate adhesive. High-temperature epoxies are essential for hot water pipes, ensuring the bond withstands operating conditions. Quick-curing options are available for immediate repairs, but patience with longer curing adhesives often results in stronger, more reliable bonds.
Preparing the copper surface meticulously ensures optimal adhesion. Cleaning, roughening, and priming the surface enhance the bond strength and prevent failures. Proper clamping and curing further solidify the connection, ensuring a robust and lasting joint.
Understanding these techniques and considerations allows DIY enthusiasts and professionals alike to achieve dependable, high-quality results in their plumbing projects.