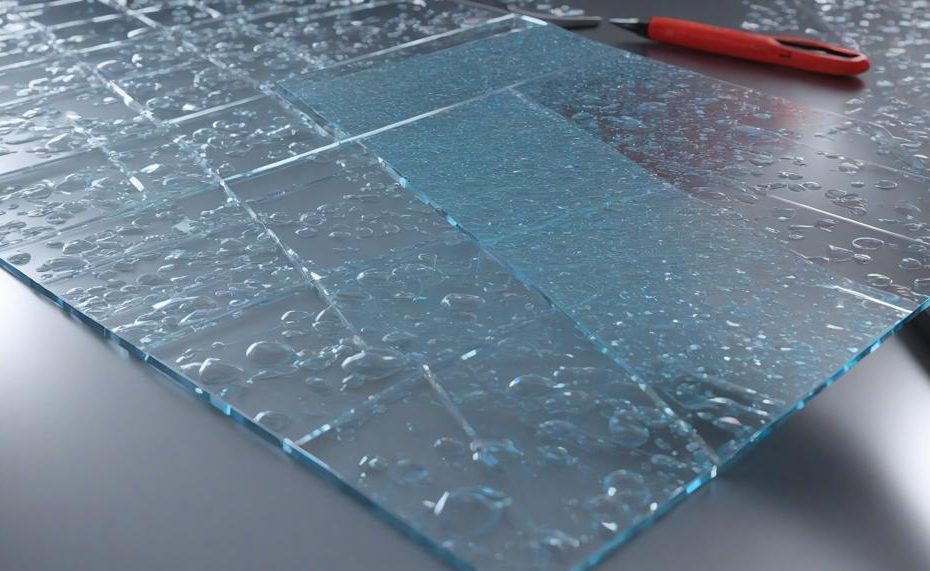
Yes, acrylic sheets can indeed be glued together, though the process is somewhat different from traditional gluing methods. This method is more accurately described as “joining” since it involves using a solvent adhesive that fuses the acrylic pieces into a single, cohesive unit. This process is both fascinating and practical, making it a go-to technique for many DIY enthusiasts and professionals alike.
When working with acrylic, it’s crucial to select the right adhesive solvent, as this ensures the sheets bond correctly. The solvent works by melting the bonding surfaces, effectively welding them together.
To achieve the best results, it’s important to prepare the acrylic sheets properly: sand any rough edges, and ensure the surfaces are dry and clean. Using clamps or masking tape to hold the sheets in place while the solvent sets is also key to a successful bond.
Key Takeaways:
- Right Adhesive: Choosing the appropriate solvent adhesive is essential for effective bonding.
- Surface Preparation: Sanding rough edges and ensuring surfaces are clean and dry will improve adhesion.
- Securing the Bond: Use clamps or masking tape to hold sheets steady while applying the solvent.
- Application Method: Apply solvent on the inside edge for box corner joints, and on both sides for flat joints.
This technique not only provides strong and durable bonds but also opens up a world of possibilities for creating seamless, professional-grade acrylic projects.
So, whether you’re crafting display cases, aquariums, or any other acrylic constructions, mastering this bonding method will undoubtedly elevate your DIY skills.
Table of Contents
Choose the Best Adhesive
When selecting an adhesive for gluing acrylic sheets together, several critical factors should be considered to ensure a strong and clear bond:
| Factor | Description | Details |
| Cure Time | The time it takes for the adhesive to fully set and bond | Quick-curing adhesives like cyanoacrylates are ideal for rapid assembly, while slower curing options like solvent-based adhesives offer more working time to adjust positioning. |
| Bond Strength | The durability and strength of the adhesive bond | Consider adhesives known for high tensile strength, such as cyanoacrylates or UV-curing adhesives, which provide robust bonding necessary for structural integrity. |
| Clarity | Transparency of the adhesive once cured | For aesthetic purposes, especially in clear acrylic, opt for adhesives that dry clear to maintain visual appeal, such as solvent-based options like Weld-On 3 or 4. |
| Application Method | Ease of application and required tools | Some adhesives need precise application methods, such as a syringe for solvent-based adhesives to prevent excess spreading and ensure a clean bond. |
| Environmental Resistance | Resistance to external factors like UV light and temperature variations | Choose adhesives with good resistance to environmental factors to ensure long-term durability, especially for outdoor applications. |
| Safety | Health and safety considerations during application | Some adhesives, particularly solvent-based, require adequate ventilation and protective equipment due to strong fumes. Refer to OSHA guidelines for safe handling. |
| Material Compatibility | How well the adhesive works with acrylic and other materials | Ensure the adhesive is specifically formulated for acrylic to avoid issues like improper curing or weak bonding. |
Prepping Acrylic Sheeting
To properly prepare acrylic sheets for gluing and ensure a strong bond, follow these steps:
Cleaning
- Clean the surfaces of the acrylic sheets thoroughly to remove any dust, grease, or fingerprints.
- Use a mild detergent and water, followed by wiping with a lint-free cloth.
- For stubborn residues, use isopropyl alcohol or a specialised plastic cleaner.
Sanding
- Lightly sand the edges to be glued using fine-grit sandpaper (e.g., 600-grit).
- This helps create a rough surface for better adhesive grip.
Dust Removal
- After sanding, ensure all dust particles are removed.
- Use a clean, dry cloth or compressed air to blow away any remaining dust.
Alignment
- Properly align the acrylic sheets before applying adhesive.
- Use clamps or weights to hold the sheets in place.
Choosing the Right Adhesive
- Select an appropriate adhesive such as acrylic cement, which chemically bonds the surfaces.
- 3M Adhesive Sheets can be used for coloured acrylics and are laser-safe.
- Ensure the adhesive is suitable for the specific type of acrylic and intended use.
Application
- Apply the adhesive evenly along the edges.
- For liquid adhesives, use a needle applicator for precision.
- If using adhesive sheets, carefully align and press them onto the acrylic.
Curing
- Allow adequate curing time for the adhesive as per the manufacturer’s instructions.
- Keep the bonded sheets clamped or weighted until the adhesive fully sets.
Safety Tips
When gluing acrylic sheets together, adhering to safety protocols is paramount to ensure a successful and hazard-free bonding process.
| Tip | Description | Details |
| Work in a Well-Ventilated Area | Ensure airflow to avoid inhaling fumes. | Use fans or work outdoors. |
| Wear Protective Gear | Protective goggles, gloves, and masks. | Shield eyes, skin, and respiratory system. |
| Avoid Open Flames | Prevent fire hazards. | Keep workspace free from flames. |
| Use the Right Adhesive | Select adhesive compatible with acrylic. | Refer to manufacturer’s guidelines. |
| Clean Surfaces Thoroughly | Remove dust and oils. | Use isopropyl alcohol for cleaning. |
| Apply Adhesive Sparingly | Prevent excess adhesive use. | Utilize an applicator for precision. |
| Clamp or Tape Sheets Securely | Hold sheets in place. | Use clamps or masking tape. |
| Follow Curing Times | Allow proper adhesive curing. | Follow manufacturer’s instructions. |
| Handle Adhesives with Care | Safe storage and disposal. | Store away from children and pets. |
Adhering to these safety tips ensures a safe and effective process when gluing acrylic sheets together.
Assembling Acrylic Sheets
The best methods for successfully gluing acrylic sheets together hinge on choosing the right adhesive and application technique. Here are the most effective approaches:
Acrylic Weldon:
Acrylic Weldon, particularly Weld-On 3 or Weld-On 4, is a powerful solvent adhesive that chemically melts and fuses acrylic pieces, creating a strong bond in under a minute.
This method is perfect for clear and opaque acrylics.
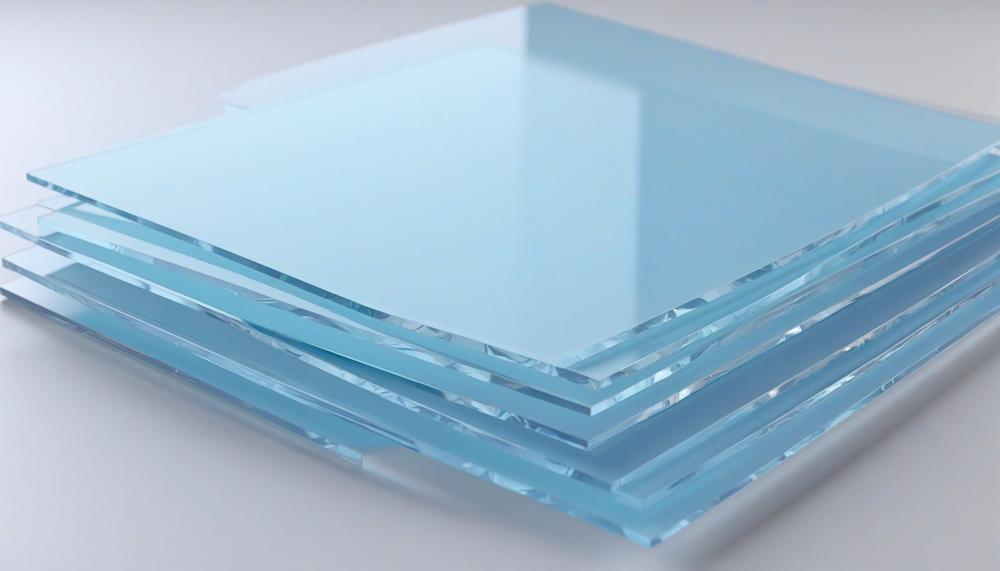
3M Adhesive Sheets and Drytac:
For projects requiring laser safety, 3M Adhesive sheets or Drytac are excellent choices.
They provide a clean bond, are easy to apply, and suitable for bonding two acrylic sheets before cutting.
Pressure-Sensitive Adhesives:
Double-sided tapes, like 3M VHB tape, are ideal for frosted acrylics.
They offer a strong bond without the mess of liquid adhesives and work well with pressure application and curing time.
Contact Adhesive:
For bonding wood veneer to clear acrylic, contact adhesives provide a durable bond. Ensure both surfaces are clean and dry before application.
Epoxy:
Epoxy is best for small, less-handled pieces such as signage. It provides a strong bond but requires precise mixing and application.
Adhesive Sealant:
When joining transparent acrylic sheets with screws, using an adhesive sealant ensures an airtight joint, preventing moisture infiltration.
Weld Acrylic Sheeting for Different Applications
The recommended welding method for joining acrylic sheets for various applications is to use an adhesive solvent to fuse the pieces together at the joints.
This technique, often termed solvent welding, ensures a robust and seamless bond. Below are the steps and considerations for effectively welding acrylic sheets.
Steps for Solvent Welding Acrylic Sheets:
- Preparation: Ensure the acrylic sheets are clean and free of dust or oils. This step is crucial for achieving a strong bond.
- Aligning Sheets: Use clamps or masking tape to hold the acrylic sheets in place. Proper alignment is essential for a smooth and precise joint.
- Applying Solvent: Depending on the joint type:
- Box Corner Joints: Apply the solvent along the inside edge of the sheeting.
- Flat Joints: Apply the solvent on both sides of the sheeting.
- Bonding Process: The solvent softens the acrylic, allowing the pieces to fuse. Hold the sheets in place until the solvent evaporates and the bond sets.
- Curing Time: Allow the joint to cure completely for maximum strength, which can take several hours to days depending on the solvent used.
Safety Tips:
- Work in a well-ventilated area to avoid inhaling fumes.
- Wear protective gloves and goggles.
Types of Solvent Cement:
| Solvent Cement Type | Application | Characteristics |
| Acrylic Weldon | General Purpose | Fast-setting, clear finish |
| Dichloromethane | Thin Sheets | Quick bonding, strong hold |
| Chloroform | Thicker Sheets | Slow-setting, high-strength bond |
Conclusion
Gluing acrylic sheets together is a straightforward yet intricate process that combines practicality with precision. Unlike traditional gluing, this method employs a solvent adhesive that melts the surfaces, effectively welding the pieces into a seamless unit. This technique is essential for anyone looking to create sturdy and aesthetically pleasing acrylic constructions.
Success hinges on selecting the right solvent adhesive, such as Weld-On, which ensures the bond is strong and clear. Proper surface preparation is equally vital; sanding rough edges and cleaning surfaces thoroughly are crucial steps. Securing the acrylic sheets with clamps or masking tape while the adhesive sets guarantees a clean and effective bond.
Applying the adhesive correctly is a matter of precision. For box corner joints, applying the solvent to the inside edge ensures a tight fit, while flat joints benefit from adhesive on both sides. The choice of adhesive should also consider factors like cure time, bond strength, and clarity to meet the specific needs of your project.
By mastering this joining technique, you open the door to creating professional-grade acrylic projects, from display cases to aquariums.

