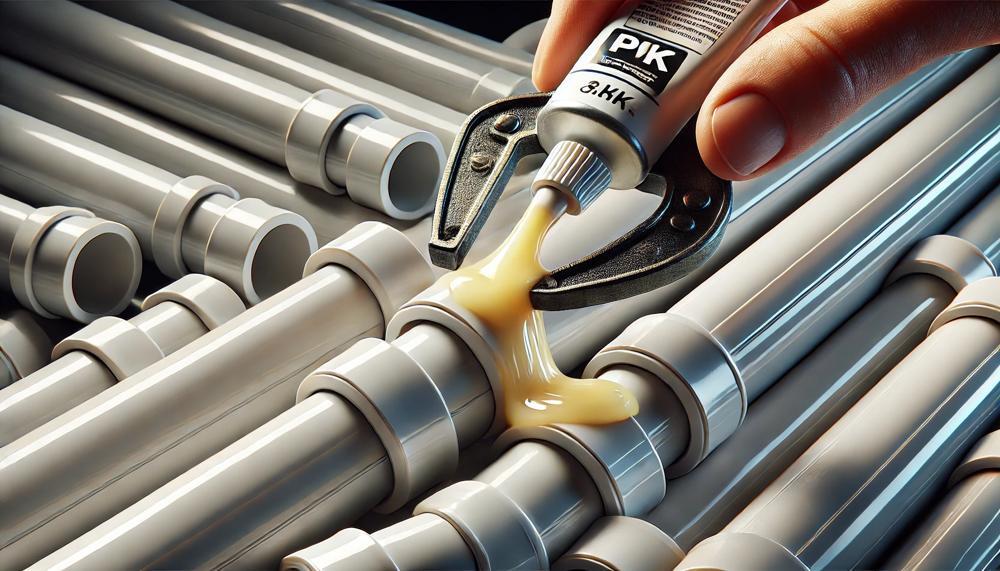
No, you do not need to sand PVC before gluing. Proper preparation and accurate measurements are the keys to a successful PVC gluing project. Gluing PVC pipe may seem straightforward, but a small mistake can lead to irreversible issues.
By focusing on fitting, cutting, and marking your pieces correctly, you ensure a seamless and strong connection.
Key takeaways:
- Fit and Measure: Always ensure all pieces fit together and are cut to the correct length before gluing.
- Mark Connections: Number and mark connections to avoid confusion and incorrect assembly.
- Preparation Over Sanding: Proper preparation of PVC pipes, including fitting and measuring, is more crucial than sanding.

Understanding these steps will help you avoid common pitfalls and achieve a reliable and durable PVC construction. Let’s dive into the detailed steps and best practices to make your PVC project a success.
Table of Contents
Steps
Gluing PVC pipes properly ensures a strong and leak-proof connection. Here are the detailed steps to follow:
| Step | Description | Details |
| 1 | Measure and Cut | Accurately measure the length of pipe needed and cut it using a pipe cutter or a fine-toothed saw. Ensure the cut is straight. |
| 2 | Deburr and Smooth | Remove any burrs and rough edges from the cut end of the pipe using a utility knife or sandpaper. This ensures a smooth fit. |
| 3 | Dry Fit | Assemble the pieces without glue to ensure they fit together correctly. Mark and number connections if necessary. |
| 4 | Clean the Pipe and Fitting | Wipe the pipe end and fitting with a clean, dry cloth to remove any dirt, dust, or grease. |
| 5 | Apply Primer | Brush primer on the outside of the pipe end and the inside of the fitting. The primer softens the PVC and prepares it for cementing. |
| 6 | Apply Cement | Immediately after priming, apply a liberal coat of PVC cement to the outside of the pipe and the inside of the fitting. |
| 7 | Join the Pieces | Quickly insert the pipe into the fitting. Twist the pipe a quarter turn while pushing in for a tighter bond. Hold firmly for at least 30 seconds. |
| 8 | Clean Excess Cement | Wipe away any excess cement from the joint with a cloth to ensure a clean finish. |
| 9 | Allow to Cure | Let the joint cure according to the cement manufacturer’s instructions, usually 24 hours, before applying pressure or using the system. |
For further information on working with PVC pipes, you can check out this comprehensive guide on How to Glue and Join PVC Plastic Pipe.
Tips to Keep a Strong and Reliable Bond
When considering sanding PVC before gluing, there are several essential tips to keep in mind to ensure a strong and reliable bond. Here’s a detailed guide to help you through the process:
| Step | Description | Tools/Materials |
| Assess the Need | Determine if sanding is necessary based on PVC type and adhesive. | Adhesive specifications |
| Choose Sandpaper | Select fine-grit sandpaper to prevent surface damage. | 220-400 grit sandpaper |
| Sand Properly | Sand in a circular motion with light pressure. | Sandpaper, sanding block |
| Clean Surface | Remove dust and ensure the surface is dry. | Cloth, PVC cleaner |
| Fit and Measure | Test fit pieces and mark connections. | Marker, measuring tape |
| Follow Instructions | Adhere to the adhesive manufacturer’s guidelines. | Adhesive instructions |
| Test Fit | Assemble without adhesive to ensure correct fit. | PVC pieces |
| Ventilation | Ensure good airflow to avoid fume inhalation. | Ventilated workspace, mask |
For more detailed information, you can refer to this PVC Sanding Guide from WikiHow.
Things You’ll Need
To properly glue PVC pipes together, you will need the following supplies and materials. This ensures a robust and leak-proof connection for your plumbing projects.
| Supply | Description | Notes |
| PVC-specific cement and primer | Specially formulated adhesive and primer for PVC material. | Ensure you use products labeled for PVC. Avoid CPVC products as they will not work correctly. |
| Wet or dry cement (optional) | Adhesive designed for wet conditions. | Useful if working with pipes that are already wet. |
| Saw or pipe cutter | Tool to cut PVC pipes to the correct length. | Choose a tool that gives you clean, straight cuts. |
| Measuring tools | Devices to measure pipe length accurately. | Use a tape measure or a ruler for precise measurements. |
| Sandpaper | Abrasive paper to smooth rough edges. | Helps create a clean surface for better adhesion. |
| Dry cloth or paper towel | Material to clean the pipe surfaces. | Remove dirt and debris before applying cement and primer. |
Explanation
PVC-Specific Cement and Primer: These products are essential for creating a strong bond between PVC pipes. The primer cleans and softens the pipe surface, while the cement chemically fuses the pipes together. Ensure you purchase the correct type to avoid weak joints.
- Wet or Dry Cement (Optional): If your project involves working in damp conditions, opting for wet or dry cement can save time and ensure proper adhesion despite moisture.
- Saw or Pipe Cutter: Cutting the pipes to the right size is crucial. A saw or a dedicated pipe cutter will provide the clean, straight cuts needed for a good fit.
- Measuring Tools: Accurate measurement is key to ensuring your pipes fit together properly. Mis-measurement can lead to gaps or the need for recutting, which wastes time and materials.
- Sandpaper: Smoothing the cut edges of your pipes with sandpaper removes any burrs or rough spots that could impede a tight fit or effective bonding.
- Dry Cloth or Paper Towel: Cleaning the pipes with a dry cloth or paper towel removes dust, dirt, and debris, ensuring that the cement and primer adhere properly to the PVC surfaces.
By gathering these supplies and materials, you can ensure a professional and durable PVC pipe installation.
Conclusion
Prepping PVC for gluing doesn’t require sanding; the secret to a secure and lasting bond lies in meticulous preparation and precision. While the idea of sanding may come to mind, focusing on fitting, cutting, and marking your PVC components accurately is far more crucial. This approach not only simplifies the process but ensures a seamless, reliable connection.
Key Takeaways:
Fit and Measure: Begin by measuring and cutting your PVC pipes to the exact lengths needed. Using a pipe cutter or fine-toothed saw ensures clean, straight cuts. Follow this by deburring and smoothing the pipe ends to eliminate any rough edges, enhancing the fit.
Mark Connections: Dry fit your pieces to check for proper alignment and fit. Marking and numbering each connection helps prevent assembly errors, making the final gluing process smooth and error-free.
Preparation Over Sanding: Clean the pipe ends and fittings thoroughly with a clean, dry cloth to remove dust and grease. Applying primer softens the PVC, prepping it perfectly for the cement application.
Detailed Steps for Gluing PVC:
- Measure and Cut: Ensure accurate measurements and straight cuts.
- Deburr and Smooth: Remove any burrs for a smooth fit.
- Dry Fit: Assemble without glue to confirm fit and mark connections.
- Clean the Pipe and Fitting: Wipe away dust and grease.
- Apply Primer: Prepare surfaces with primer.
- Apply Cement: Coat both the pipe and fitting.
- Join the Pieces: Insert and twist the pipe into the fitting, holding it for at least 30 seconds.
- Clean Excess Cement: Wipe away any excess for a clean finish.
- Allow to Cure: Let the joint cure as per manufacturer instructions.


