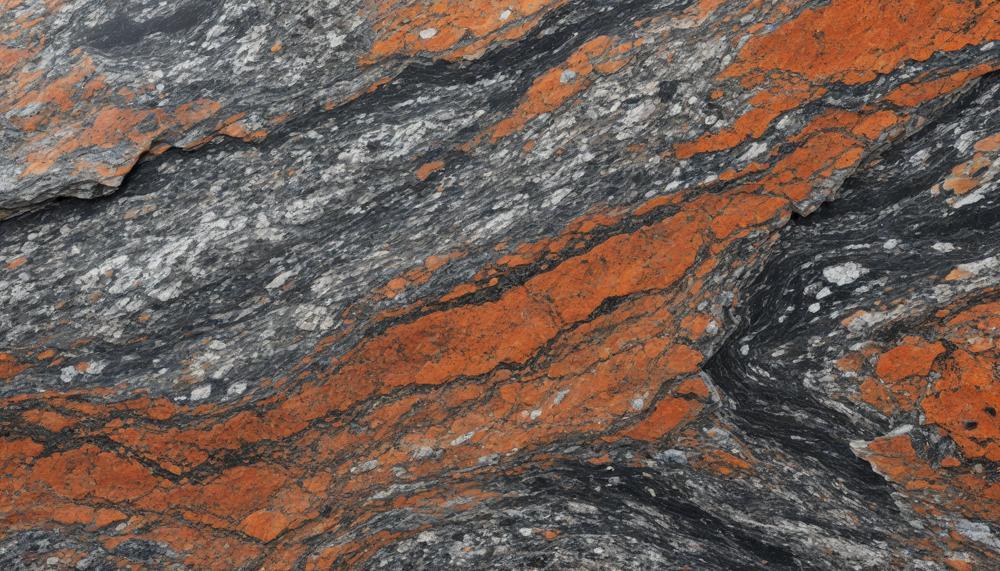
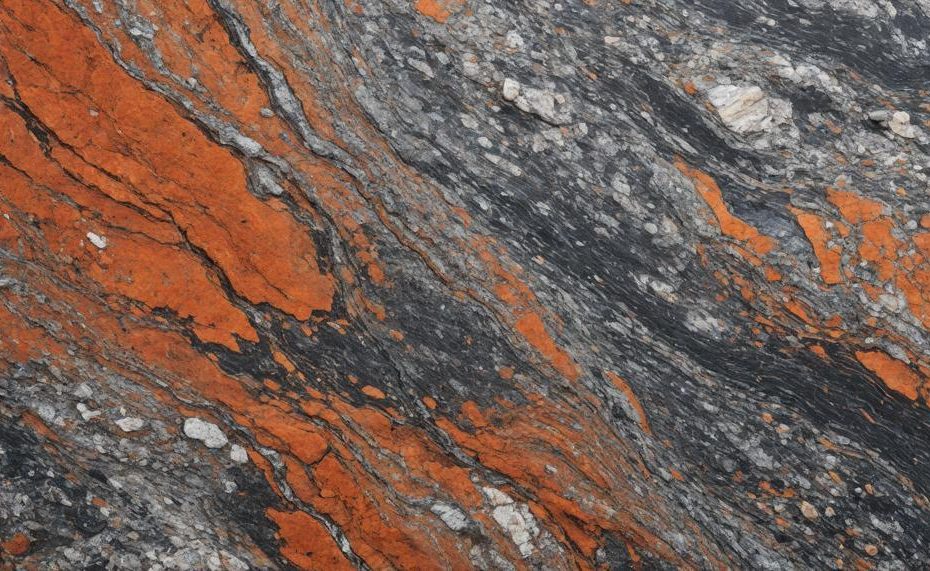
Yes, you can glue granite together. This might come as a surprise, but with the right techniques and materials, it’s totally doable. Whether you’re tackling a kitchen countertop project or fixing a bathroom vanity, knowing how to glue granite is a game-changer. Granite is not just about durability; it’s also about enhancing the aesthetic appeal of your spaces. Here’s how you can ensure a strong and lasting bond between granite pieces.
Key Takeaways:
- Surface Preparation: Clean the granite surfaces thoroughly before applying any adhesive.
- Adhesive Choice: Use water-activated glues for moisture-prone areas, like kitchens and bathrooms.
- Application Technique: Follow the adhesive’s specific instructions, as some require mixing.
- Seam Pressure: Press the pieces tightly together to avoid air bubbles.
- Drying Time: This varies based on the adhesive type and environmental conditions.
- Safety First: Wear gloves and ensure proper ventilation to handle adhesives safely.
Granite projects don’t have to be daunting. With these tips, you’re well on your way to achieving a professional finish. Happy gluing.
Table of Contents
What Type of Adhesive Should Be Used for Granite?
The type of adhesive recommended for granite is epoxy adhesive, owing to its exceptional strength, durability, and resistance to moisture and temperature changes. Here are the key points and procedures:
Types of Adhesives for Granite
| Type of Adhesive | Characteristics | Usage |
| Epoxy Adhesive | Strong, durable, moisture-resistant, withstands temperature fluctuations | Ideal for installing and bonding granite countertops |
| Polyester Resin | Faster curing time compared to epoxy | Suitable for quick repairs and installations |
| Construction Adhesive | Designed for heavy materials | Used in bonding granite with other construction materials |
| 100% Silicone Adhesive | Durable and flexible | Commonly used for granite countertops to withstand stress and weight |
Application Process
Surface Preparation:
Ensure the sub-surface is clean, level, and free from grease or dirt. A grinder can help level uneven spots.
Mixing Epoxy:
Follow the manufacturer’s instructions to mix the epoxy adhesive properly. This step is crucial for achieving optimal bonding strength.
Applying Adhesive:
Use a notched trowel to apply the epoxy evenly across the sub-surface. This ensures better adhesion.

Placing the Granite:
Carefully position the granite countertop onto the adhesive-coated sub-surface. Apply even pressure across the entire surface to create a strong bond.
Cleaning Excess Adhesive:
Remove any excess adhesive before it cures to prevent residue on the countertop.
Curing Time:
Allow the adhesive to dry for 24 to 48 hours. During this period, avoid placing heavy objects or exerting excessive force on the countertop.
Safety Precautions
- Always read product labels and follow the manufacturer’s safety guidelines.
- Wear protective gear, including gloves and eye protection.
- Ensure proper ventilation in the workspace to avoid inhaling fumes.
- Use appropriate tools and avoid direct skin and eye contact with the adhesive.
- Dispose of waste materials safely and store adhesives properly to prevent accidents.
Preparing the Surfaces for Gluing
To ensure a robust and enduring bond when gluing granite surfaces, follow these essential steps:
- Clean the Surface: Thoroughly clean the granite surfaces to remove any dirt, dust, or debris. Use a non-abrasive cleaner and a soft cloth. Avoid any oily or greasy residues which can hinder the adhesive bond.
- Roughen the Surface: Lightly roughen the granite surface using fine-grit sandpaper (220-grit). This increases the surface area for the adhesive to grip, enhancing the bond strength.
- Dry the Surface: Ensure the granite is completely dry before applying adhesive. Any moisture can compromise the bonding process.
- Apply Adhesive: Use a high-quality epoxy adhesive, specifically designed for stone. Mix the epoxy according to the manufacturer’s instructions. Apply a thin, even layer to both surfaces to be bonded.
- Clamp the Pieces: After positioning the granite pieces, use clamps to hold them in place. This ensures even pressure across the bond, preventing gaps and ensuring a seamless connection.
- Allow Curing Time: Leave the bonded granite undisturbed for the recommended curing time, usually 24-48 hours. Proper curing is crucial for achieving maximum adhesive strength.
- Check the Bond: After the adhesive has fully cured, gently test the bond to ensure it is strong and secure. Regular maintenance and checks will help maintain the integrity of the installation.
Applying the Epoxy Adhesive
To properly apply epoxy adhesive when gluing granite together, follow these detailed steps:
Preparation:
- Clean the Surfaces: Ensure both granite pieces are free from dust, grease, and other contaminants. Use a mild detergent and water, then dry thoroughly.
- Roughen the Surfaces: Lightly sand the areas to be bonded with fine-grit sandpaper to improve adhesion.
Mixing the Epoxy:
- Follow Instructions: Mix the two-part epoxy according to the manufacturer’s instructions. Proper mixing is essential for achieving optimal bond strength.
Application:
- Even Application: Apply the mixed epoxy evenly on one of the granite surfaces. Use a spatula or similar tool to spread the adhesive.
- Align and Press: Carefully align the granite pieces. Press them together firmly to ensure a good bond.
Securing:
- Clamping: Use clamps to hold the granite pieces together while the adhesive cures. Ensure even pressure distribution to avoid gaps and ensure a tight bond.
Curing:
- Allow Ample Time: Let the epoxy cure for the recommended time specified by the manufacturer. This can range from several hours to a full day or more, depending on the product used.
Maintenance:
- Regular Checks: Periodically inspect the bonded area for any signs of wear or weakening. Clean with gentle products to maintain the bond integrity.
Curing Time for the Adhesive
The curing time for granite adhesive varies depending on the type of adhesive used and environmental conditions. However, a general guideline is to allow the adhesive to cure for at least 24 to 48 hours before the granite surface can be safely used.
This timeframe ensures the adhesive has reached its full bonding strength, providing a secure and durable hold.
The specifics can vary:
- Epoxy Adhesives: Typically require about 24 hours to achieve a strong bond. For maximum strength, a full cure might take up to 7 days.
- Polyurethane Adhesives: Often need around 48 hours to cure fully.
- Silicone-Based Adhesives: Usually require 24 to 48 hours, depending on the thickness of the application.
Factors Influencing Curing Time
- Temperature: Warmer temperatures can speed up the curing process, while cooler temperatures can slow it down.
- Humidity: Higher humidity levels can accelerate the curing process for some adhesives, but may slow it for others.
Here is a summary table for quick reference:
| Type of Adhesive | Typical Curing Time | Comments |
| Epoxy | 24 hours (initial), up to 7 days (full cure) | Provides strong, durable bond; ideal for heavy-duty applications. |
| Polyurethane | 48 hours | Good for flexibility and shock resistance. |
| Silicone-Based | 24 to 48 hours | Best for applications requiring a watertight seal. |
It’s essential to follow the manufacturer’s instructions on the specific adhesive product being used. Ensuring the correct curing time not only guarantees a strong bond but also prevents potential issues with the granite installation.
Tips and Tricks for Glue Granite Together
To ensure a strong and lasting bond when gluing granite, follow these essential tips and tricks:
Choose the Right Adhesive
- Opt for a high-quality, specially formulated granite adhesive.
- Epoxy adhesive is preferred for its robust strength and durability.
Prepare the Surface
- Clean the granite pieces thoroughly to remove dirt, debris, grease, or oil.
- Dry the surfaces completely before proceeding.
- Use sandpaper to roughen up the surfaces, enhancing the adhesive grip.
Apply the Adhesive Carefully
- Apply a thin, even layer of epoxy adhesive on one of the granite pieces using a small brush or spatula.
- Avoid excess adhesive to prevent seepage when pressing the pieces together.
Clamp Tightly
- Align the granite pieces carefully and press them together.
- Apply even pressure across the surface using clamps or weights.
- Maintain pressure for at least 24 hours to allow the adhesive to cure fully.
Finish with a Color-Matched Filler
- Fill any visible cracks or chips with a color-matching epoxy filler before finalizing the bond.
Troubleshooting Common Issues with Glued Granite
Gluing granite can be tricky, and a few common problems can arise during the process. Below is a detailed examination of these issues and their solutions:
- Discoloration: Granite adhesives that are not specifically formulated can lead to unsightly stains on the stone. Cleaning the surfaces thoroughly and ensuring they are dry is crucial to avoid this issue.
- Weak Bond: The strength of the bond largely depends on the adhesive application and clamping. Even distribution of adhesive and maintaining clamping for the recommended duration ensures a strong bond.
- Misalignment: Visualizing the final look and using tools for alignment can prevent the pieces from being glued improperly. Dry-fitting the pieces helps to make necessary adjustments before the final gluing.
- Seam Visibility: A seamless appearance can be achieved by carefully matching the color of the adhesive with the granite. This attention to detail ensures that the seams blend in with the countertop.
- Cracks or Gaps: Proper surface preparation is essential to avoid cracks and gaps. Sanding the surfaces smooth and applying even pressure with clamps can mitigate these problems.
Conclusion
Successfully gluing granite pieces together can be a transformative technique for your home projects, whether you’re updating a kitchen countertop or repairing a bathroom vanity.
The process, though intricate, ensures a durable and visually appealing result when done correctly. Here’s a concise wrap-up of the essential steps and considerations:
- Preparation is Key: Clean the surfaces thoroughly to remove any dirt, dust, or grease. A non-abrasive cleaner and a soft cloth work best. Additionally, lightly roughen the granite surface with fine-grit sandpaper (220-grit) to increase the adhesive’s grip.
- Choosing the Right Adhesive: Epoxy adhesive is your go-to for granite due to its strength, durability, and moisture resistance. For areas prone to moisture, such as kitchens and bathrooms, consider water-activated glues.
- Application Techniques: Follow the adhesive’s instructions meticulously. Mix the epoxy as directed, apply it evenly with a notched trowel, and press the granite pieces tightly together to eliminate air bubbles.
- Seam Pressure and Drying Time: Use clamps to maintain even pressure across the bond. Allow the adhesive to cure for 24 to 48 hours, avoiding heavy loads during this period.
- Safety Precautions: Always wear gloves and ensure proper ventilation to avoid exposure to fumes.
By following these detailed steps, you can achieve a strong and lasting bond that not only enhances your granite’s durability but also its aesthetic appeal.


