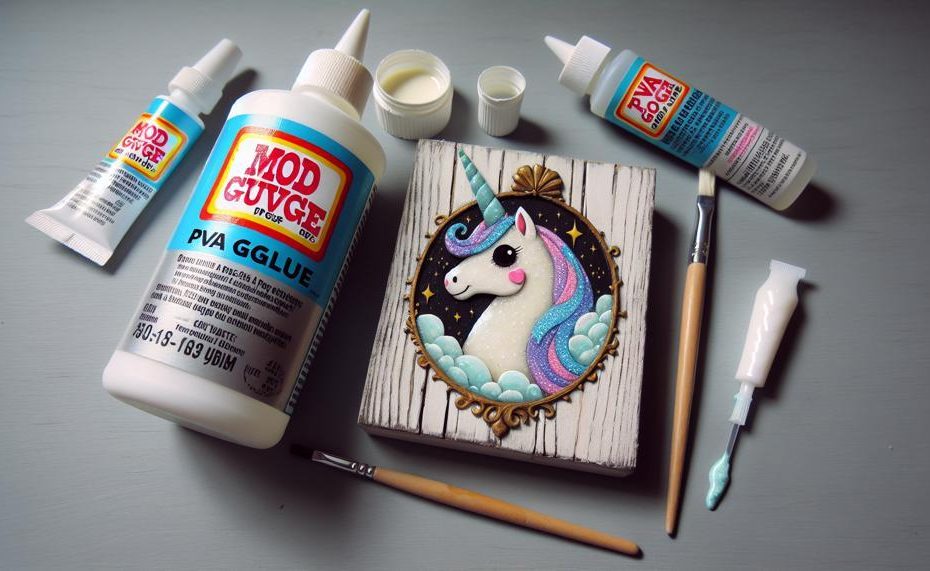
Attention all crafters and DIY enthusiasts. Are you on the hunt for the perfect adhesive to elevate your projects? Look no further, because we’re about to dive into the world of mod podge and PVA glue. These two adhesives have been staples in the crafting community for their versatility and strong hold. But are they really that different? Let’s take a closer look at whether mod podge is truly the same as PVA glue.
First things first, both mod podge and PVA glue are water-based adhesives, which means easy clean-up with just soap and water. No more sticky fingers or messy workstations. But that’s not all – these adhesives also dry clear, making them ideal for projects where visibility is key. So go ahead and use them on any surface without worrying about unsightly residue.
But wait, there’s more. Mod podge and PVA glue can both be used as sealers or finishes on various surfaces such as wood, paper, fabric, and more. Plus, their similar consistency makes them a breeze to apply with a brush or sponge. And don’t worry about safety – both adhesives are non-toxic and suitable for all ages.
So whether you’re working on a decoupage masterpiece or creating homemade slime with your little ones, mod podge and PVA glue have got you covered. With their impressive similarities, it’s no wonder these two adhesives are must-haves in every crafter’s toolkit. Now let’s get crafting with confidence.
Table of Contents
Is Mod Podge Better than PVA?
After researching and considering the context, it is clear that both Mod Podge and PVA glue are effective for small crafting projects. However, Mod Podge offers several advantages that make it a more desirable option for certain projects compared to PVA glue.
| Mod Podge | PVA Glue |
|---|---|
| Highly versatile and can be used on a wide range of materials. | Primarily suitable for porous materials such as wood, fabric, and paper. |
| Contains additional ingredients like clear acrylic sealer for a unique and professional finish. | No additional ingredients included. |
| Easily removable with warm water or soap and petroleum jelly, making clean-up a breeze. | While it can also be removed with warm water, it may require more effort. |
| Slightly more expensive than PVA glue but offers added benefits. | A cost-efficient option for those on a budget. |
| Functions as both an adhesive and sealer in one product. | Mainly used as an adhesive only. |
Ultimately, the decision between Mod Podge and PVA glue will depend on personal preference and the specific requirements of the project at hand. If you are working with a diverse range of materials and desire a professional finish, Mod Podge would be the ideal choice.
However, if your project primarily involves porous materials and you are looking for a budget-friendly option, then PVA glue may be more suitable.
How Do You Make Mod Podge with PVA Glue?
Follow these steps to create your own Mod Podge at home:
Step 1: Gather your materials
- ½ pint mason jar
- 6 oz. bottle of washable kids glue
- Water
Step 2: Pour the glue into the mason jar
Start by pouring the entire 6 oz. bottle of washable kids glue into the mason jar.
Step 3: Add water on top of the glue
Next, add water to the mason jar on top of the glue. You can use regular tap water or distilled water if you prefer.
Step 4: Shake well to mix the ingredients
Securely close the mason jar and shake it well to thoroughly mix the glue and water together. This will create your very own homemade Mod Podge.
Step 5: Use as a sealant for crafting projects
Your homemade Mod Podge can now be used as a sealant for various crafting projects. It works just as effectively as store-bought Mod Podge and can be applied to surfaces such as paper, cardboard, and wood.
Step 6: Store in a cool, dry place
For future use, store any leftover Mod Podge in a cool, dry place in the mason jar.
Can I Use Elmer’s Glue Instead of Mod Podge?
Yes, it is possible to use Elmer’s glue instead of Mod Podge for your crafting projects. However, before making the switch, there are a few important factors to consider.
First, it’s important to note that both Mod Podge and Elmer’s glue are water-based adhesives. This means that they share similar properties and can be used for a wide range of crafting projects. However, they have different compositions and consistencies.
Mod Podge is specifically designed for crafting and has a thicker consistency compared to Elmer’s glue. This unique characteristic allows for a specialized finish that can enhance the appearance of your project.
On the other hand, Elmer’s glue is more widely available and affordable, making it a convenient substitute.
One potential issue with using Elmer’s glue as a substitute is that it may not dry as clear or smooth as Mod Podge. This can ultimately affect the overall appearance of your project. Additionally, Mod Podge offers a level of durability and protection that Elmer’s glue may not provide.
If you do decide to use Elmer’s glue as a substitute, there are some helpful tips to keep in mind. You can dilute the glue with water to achieve a thinner consistency similar to Mod Podge. It is also recommended to apply the glue with a brush for better control and coverage.
After the glue dries, you can seal it with varnish to add additional protection and enhance its appearance.
However, it is important to note that results may vary depending on the specific project and materials used. Therefore, it is always best to test the adhesive on a small area before committing to using it on your entire project.
Can I Use Clear Nail Polish Instead of Mod Podge?
Unfortunately, clear nail polish is not a viable replacement for Mod Podge.
Aside from possibly having a negative reaction with acrylic paint, it is not a reliable sealant for decoupage projects. To achieve the best results, it is recommended to use a proper sealant or acrylic gloss instead.
It’s best to invest in the proper materials to ensure the longevity and quality of your work.
How to Use Mod Podge
To achieve the optimal outcome when working with Mod Podge, it is crucial to follow these steps:
- Prepare your work surface: Before using Mod Podge, ensure that your work surface is immaculate and dry. This guarantees a smooth and even application.
- Select the appropriate brush: When working with Mod Podge, it is best to use a sponge brush instead of a regular paintbrush. This minimizes the chances of streaks and creates a more seamless finish.
- Apply thin coats: Rather than applying one thick coat of Mod Podge, it is recommended to use multiple thin coats. This technique helps to build a thicker and more durable finish.
- Allow each coat to dry thoroughly: It is essential to wait until each coat is fully dry before applying another one. This prevents the Mod Podge from becoming sticky and creating a messy finish.
- Use various brush strokes: To achieve a smooth and even result, it is advised to apply one layer of Mod Podge with horizontal brush strokes, followed by another layer with vertical strokes.
- Smooth out any air bubbles: After applying the Mod Podge, use a foam brush or your fingers to gently press out any air bubbles that may have formed. This adds a polished touch to the final product.
- Seal your project: Once your project is complete, you can protect it further by adding an extra layer of Mod Podge for added durability.
Conclusion
In conclusion, it is clear that both mod podge and PVA glue have their own unique strengths, making them versatile and effective adhesives for various crafting projects.
From easy clean-up to a clear finish, these adhesives are ideal for any surface and can also be used as sealers or finishes on a wide range of materials.
However, upon careful consideration, it becomes evident that mod podge offers additional benefits such as versatility, durability, and a professional finish compared to PVA glue.
And for those on a budget, creating your own mod podge with PVA glue proves to be a cost-effective solution.
While Elmer’s glue may serve as a substitute in some cases, it may not provide the same level of quality or results as mod podge. And although clear nail polish may seem like an alternative option, it is not recommended for decoupage projects due to its potential to yellow over time.
To achieve the best results when using mod podge, follow these simple steps:
- Prepare your work surface by covering it with wax paper or plastic wrap to prevent sticking
- Use a sponge brush for even application, apply thin coats and allow them to dry completely before adding another layer (approximately 15-20 minutes)
- Use different brush strokes for a smooth finish without visible lines or bubbles
- Seal your project with an additional coat of mod podge for added durability

